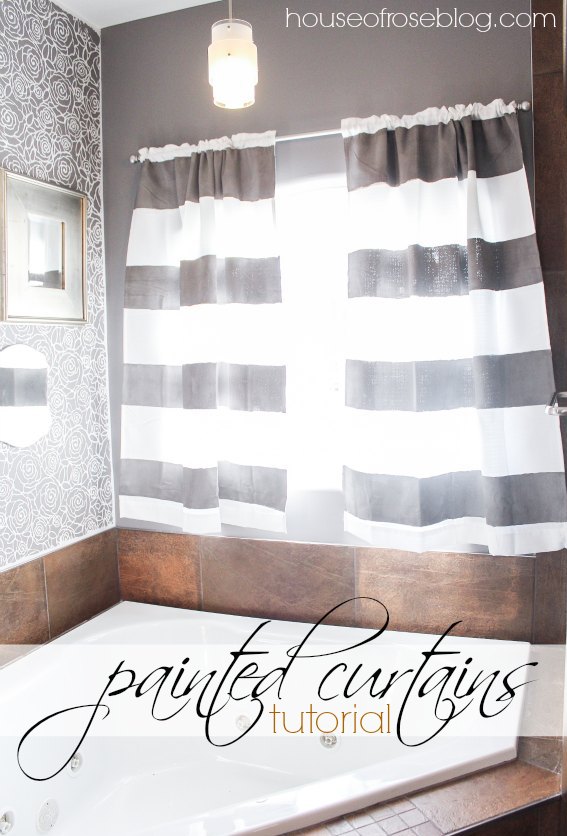
Only because you asked. And I aim to please. I bring you…
<<How to Paint Cheap Curtains and Make Them Pretty>>

But I’m probably gonna go ahead and throw this out there {going against what the average “diy” blogger might say}.
Painting curtains is labor.
Or maybe it’s me?
I’m sorry, I know that is not the way to get you motivated to go grab your old cheap curtains and make them pretty. But honesty is the best policy, right?
Ahem.

So just in case you have decided you STILLLLLL want to go through with it and overcome the challenge…follow these steps.
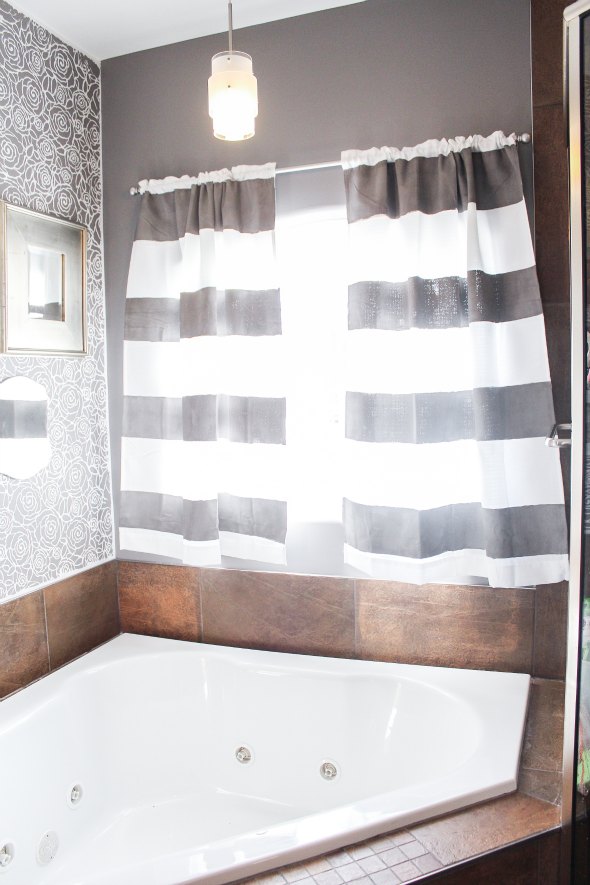
And who knows, maybe you will actually find it easier than I did. I would still do it all over again because I love the way they turned out in my master bathroom.

Step 1: Find some old solid color curtains that you were about to trash. Or, if you are like me and already trashed them? Purchase the cheapest white curtains you can find at Walmart. I bought mine for $12.99 a panel.
Step 2: Lay out your drop cloth on a flat and solid surface. I started to do this inside on my hardwood, but quickly moved the project to the concrete floor in my garage {just in case the paint were to leak through the drop cloth}.
Step 3: Take your painters tape and tape down the corners of your curtain panel so that it is pulled tight with no bumps in the fabric.
Step 4: Use a ruler and measure out your stripes. I measured mine to start 1.5 inches from the top. Each strip was 7 inches wide. I also made sure the white in between was 7 inches. My measurements are no where near perfect. In fact, if I’m being honest…I didn’t even use the ruler on the second panel and they still look fine. You can “eye ball it” if you are good at that kind of thing.
Step 5: Draw straight lines across your curtain panel where each stripe will go. Again, I gave up on this step by the second panel. I’m such a rebel. But in case you aren’t a rebel…and suck at straight lines then use a ruler or level to assure that you don’t have crooked stripes on your curtains.

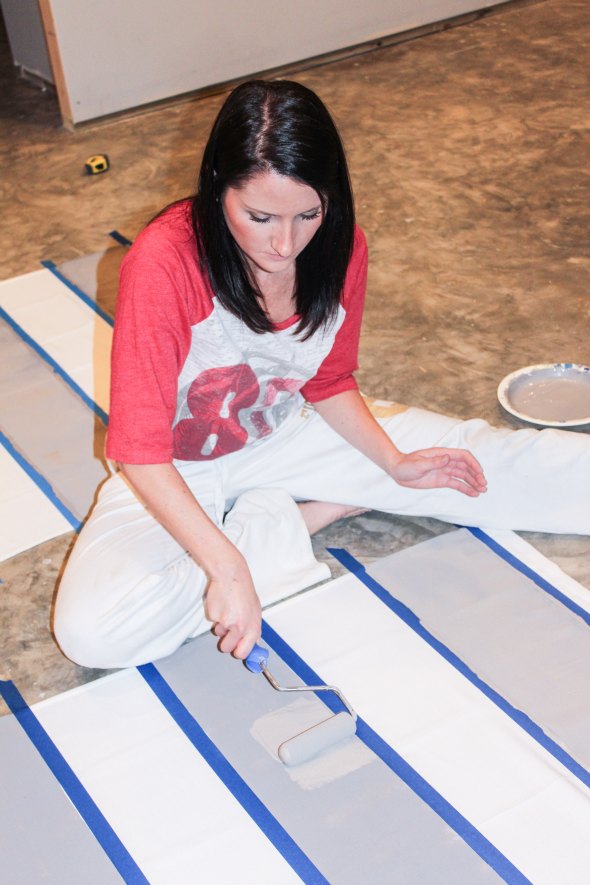
Step 6: Tape off your lines with blue painters tape.
Step 7: I used regular latex paint that I had laying around to paint the stripes. The fabric soaks up SOOOOO much of the paint and, for me, this is the part that I hated the most. I had to paint 2 {3 in some places} coats of paint. It might be better to use fabric paint or something that is made to be applied to this material. I’m just lazy and went with what I had. OOPS!
*Paint color used: Creek Bend by Behr from Home Depot.


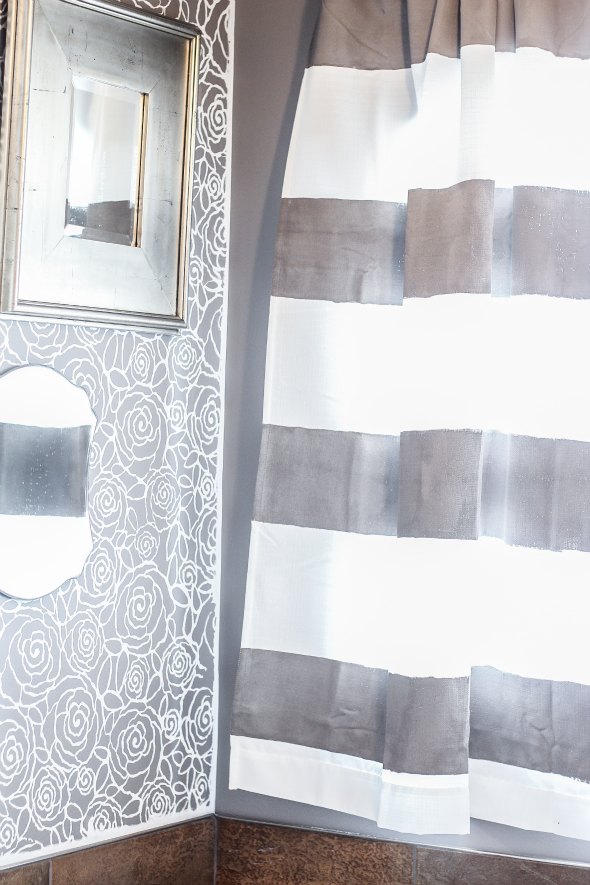
Step 8: Remove the tape while the paint is still wet if you want crisp lines.

Step 9: Done! Admire your hard work and ability to make cheap curtains look fabulous!


To see the full Master Bathroom Makeover just click <<HERE>>.
Or if you love the rose stencil {can I get an amen?} then check out my Rockin Roses Stencil Post.
You can check out more of my home decor and diy projects <<HERE>>. Or if you want the full tour>>>>>>>>>
Linking up here:
