If you are looking for ideas to take up some wall space, but don’t know what to hang?
I have the perfect solution. And it’s totally on the cheap.
<<<DIY WALL ART FRAME PROJECT>>>
Step 1:
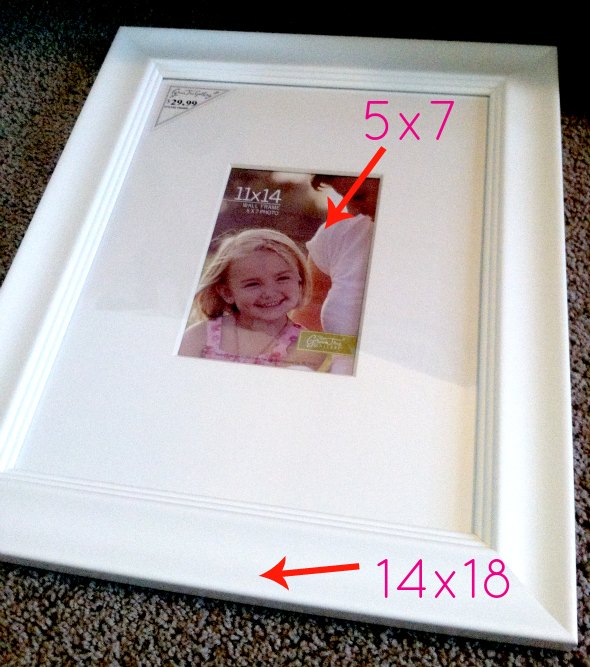
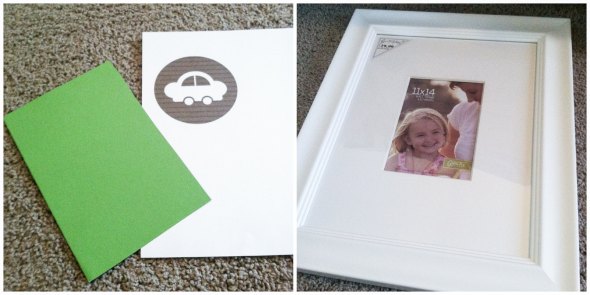
Find a few decent sized photo frames. I found mine at TJ Maxx for SUPER cheap.
They hold 5×7 photos in the mat or 11×14 without the mat. The actual size of the frame is 18 inches tall by 14 inches wide.
Truly, the size of the frames is not a huge deal because this entire project can be tailored to fit ANY size frames.
Step 2:
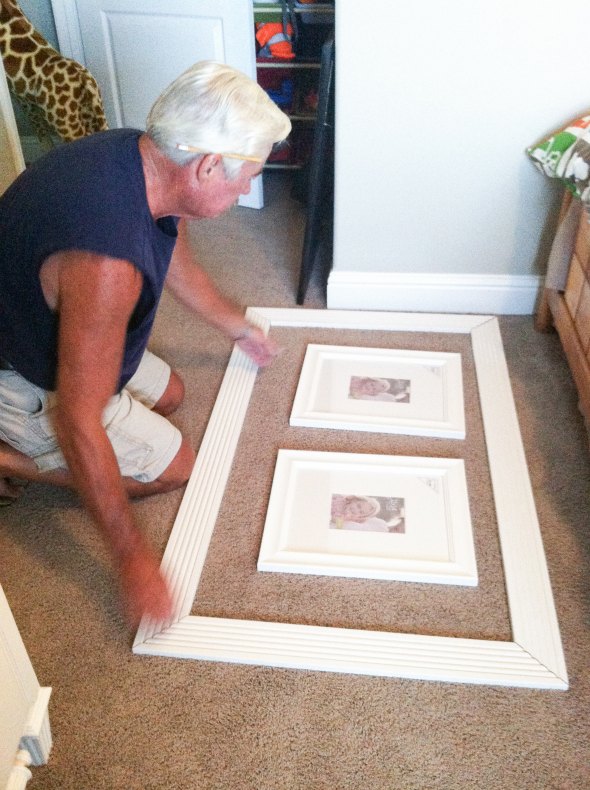
Lay your frames out on the floor. I put a few inches of spacing between them, but not a ton.
Use trim {I had mine leftover from when we built our fireplace} and decide how big you want the exterior frame to be.
Again, you can make this as big or small as you want.
Step 3:
Call your dad.
KIDDING! You can do this, I promise.
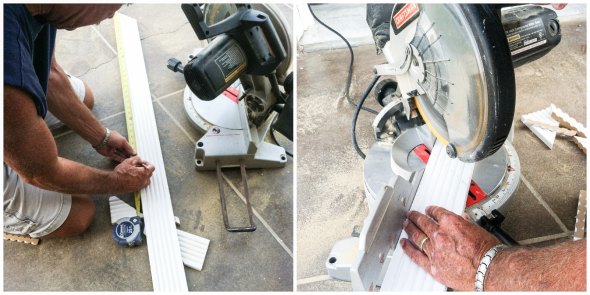
Cut your trim to the exact size you need for your frame.
We used a circular miter saw {I don’t know saw lingo} to do this and the cuts were super easy. This does not take extreme talent to do.
Step 4:
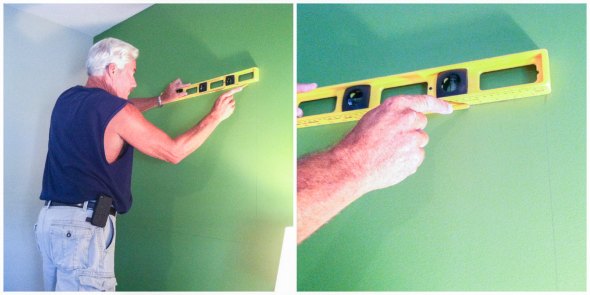
Use a level and outline on the wall approximately where your exterior frame will be placed.
It doesn’t have to be perfect because you are going to have a few inches of trim to cover the painted area. For this reason I usually suggest drawing your line to be the size of the inside of the exterior frame.
Step 5:
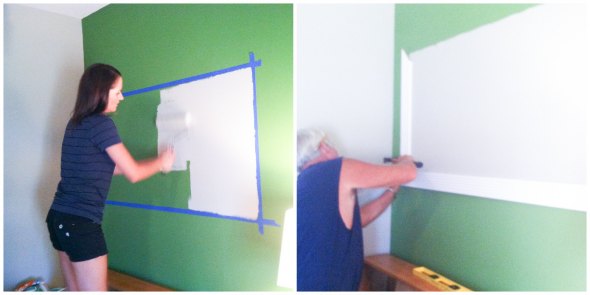
Tape off the exterior frame area and paint.
I used paint that matched the lighter colored walls in my oldest son’s room {Lambs Ear by Valspar Signature from Lowes}, but you can technically use any paint color you want.
You can even get creative and use a stencil {which I did when I did something similar to this in the basement and it turned out fabulous}. Whatever you use {plain color or stencil} it will be the background of your exterior frame.
Step 6:
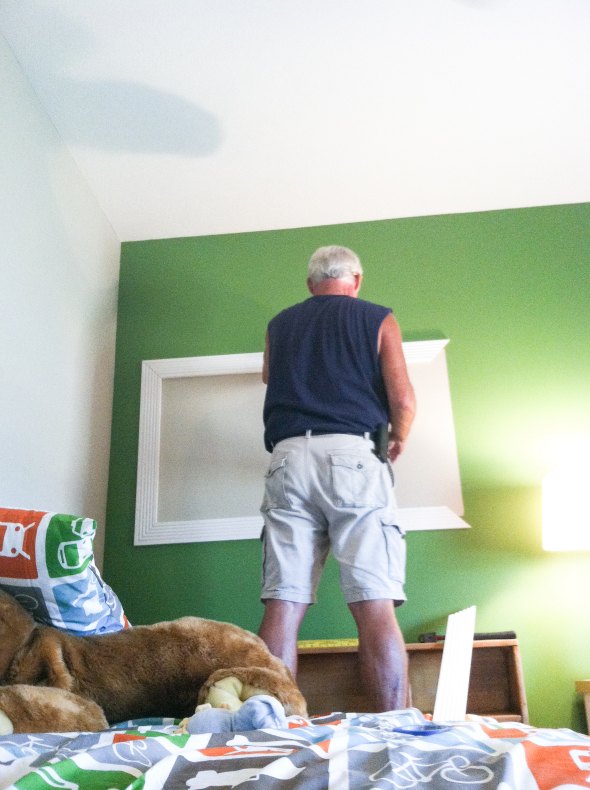
Put up the trip pieces that make the exterior part of the frame.
You can do this with a hammer and nail, but I will say it is way easier to have two people helping. One to hold it up and the other to nail it in place.
Step 7:
Fill your smaller frames with something. This is where you can get creative.
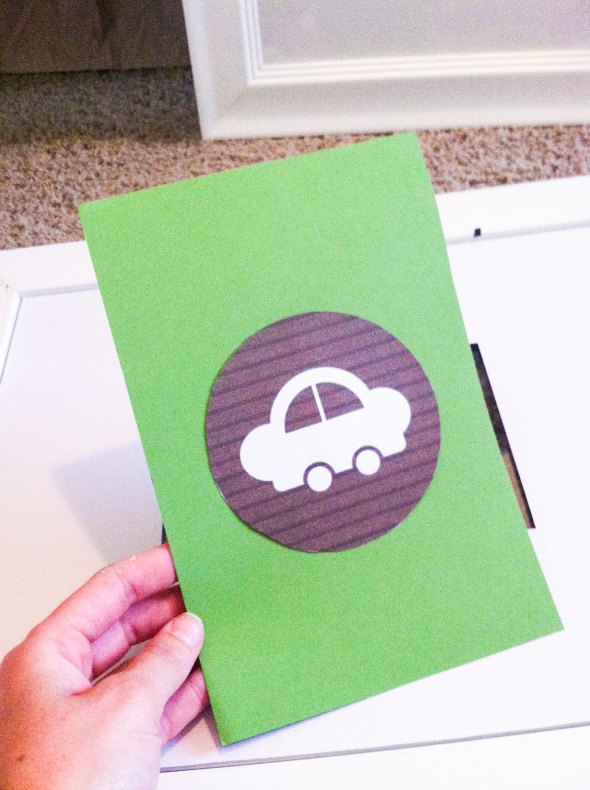
I had nothing to put in my frames…so I decided I would google “free transportation clip art” and I found some cute little cars. I literally saved the images and then just printed them in color.
I added colored card stock behind the circled cars. I just cut the card stock to 5×7 size and taped the car paper in the center.
Yes, I said taped.
Step 8:
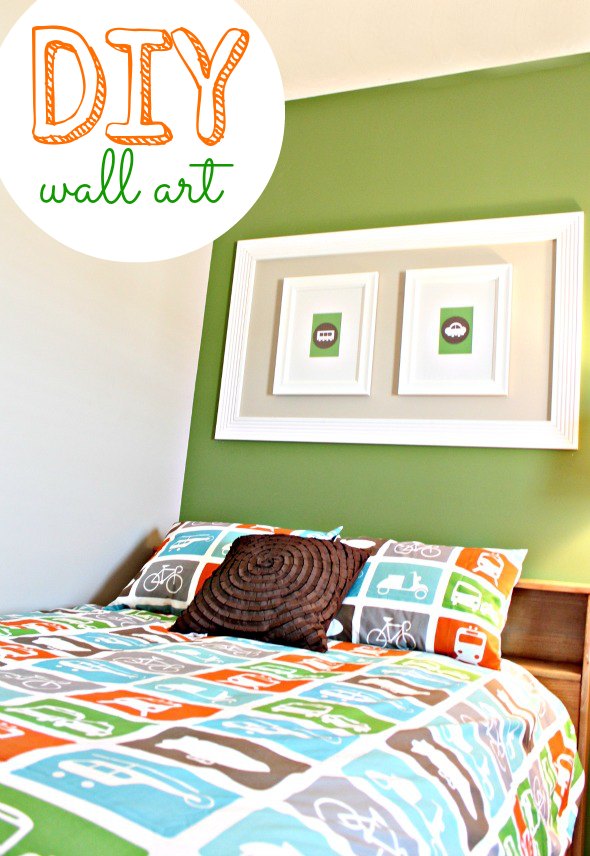
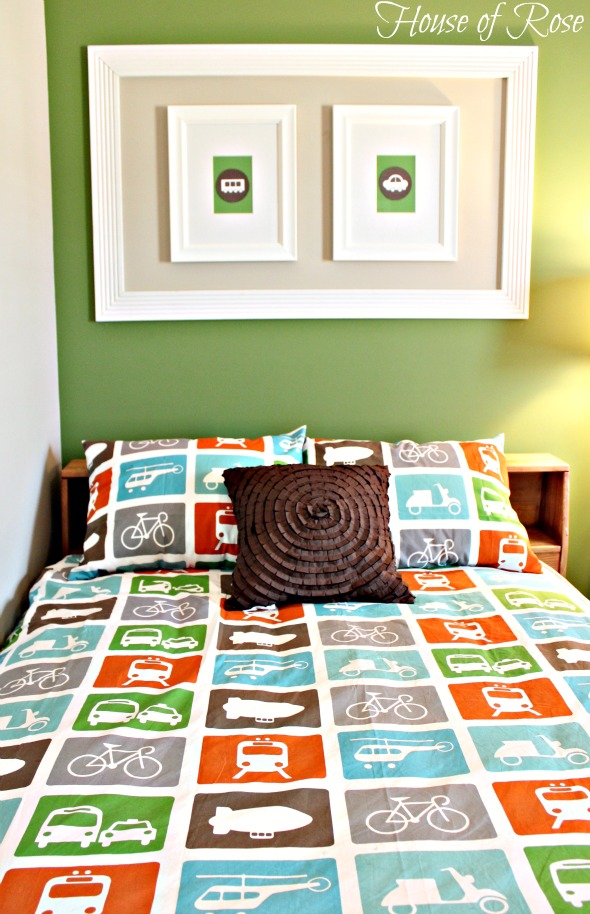
Hang your smaller frames inside your big exterior frame.
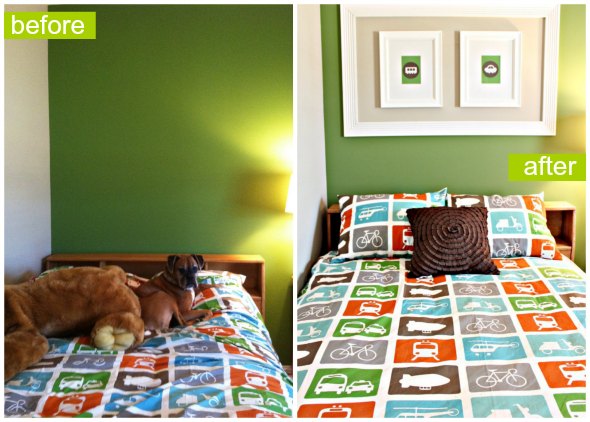
There you have it…an easy way to add wall art without breaking your budget.
This entire project cost me $23 {which was the cost of the smaller frames}. Everything else was stuff I had on hand. Even if you have to buy trim…you can find trim for $6 – $20 per piece. This project took two 8 foot pieces.
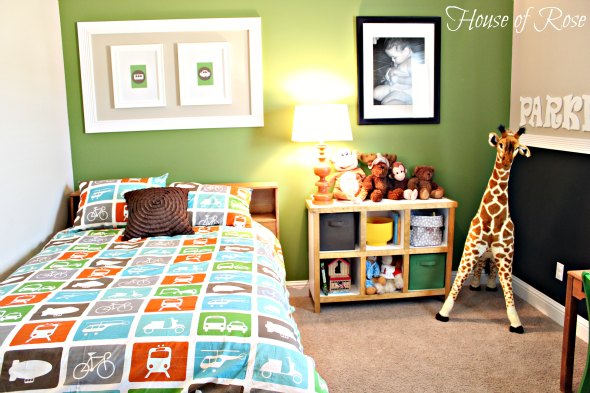
To see the entire big boy room just click HERE. Or if you are interested in learning how to stencil a canvas {another cute, but cheap room idea} than click HERE.
For more DIY and home decor tips sign up for my free monthly newsletter below….
To see more of our home…
Linking up here:
